Static Accessory Models
Model Specifications:
- Static accessories should strictly follow the dressing specifications to allow free switching and matching of accessories from different parts. Static accessories are divided into seven positions: left hand, back accessory, head accessory, ear accessory, face accessory, hip, and shoulder. Each position needs to have corresponding product classification information configured.
- Each static accessory supports up to three material balls.
- Materials do not support double-sided display. If a double-sided display effect is needed, it must be achieved by duplicating the model.
Recommended Polygon Count
Optimal performance can be achieved by keeping the polygon count within the following limits:
| Recommended Polygon Count (Triangles) | |
|---|---|
| Left Hand | ≤3000 |
| Back Accessory | ≤3000 |
| Head Accessory | ≤4000 |
| Ear Accessory | ≤1500 |
| Face Accessory | ≤3500 |
| Hip Accessory | ≤3000 |
| Shoulder Accessory | ≤4000 |
Model Orientation
| 3ds max | MAYA | Blender |
|---|---|---|
| -Y as Forward | Z as Forward | -Y as Forward |
As shown in the figure below, because the slot direction is fixed, ensure the correct display of the accessory. Therefore, the coordinate position and the positive/negative orientation of the model need to be set correctly.
Coordinate Axis Position:
The coordinate axis position of all models must be at (0, 0, 0) to ensure normal accessory display and convenient object mounting.
| Recommended Model Coordinate Position | Example Screenshot | |||
|---|---|---|---|---|
| Left Hand | Hand Holding Position | 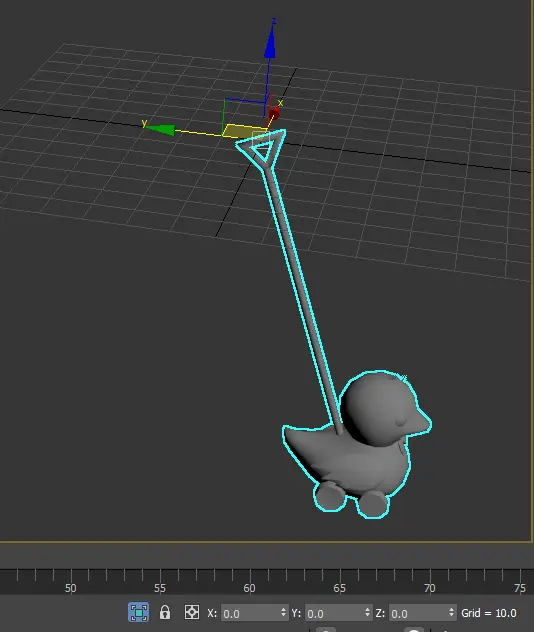 | 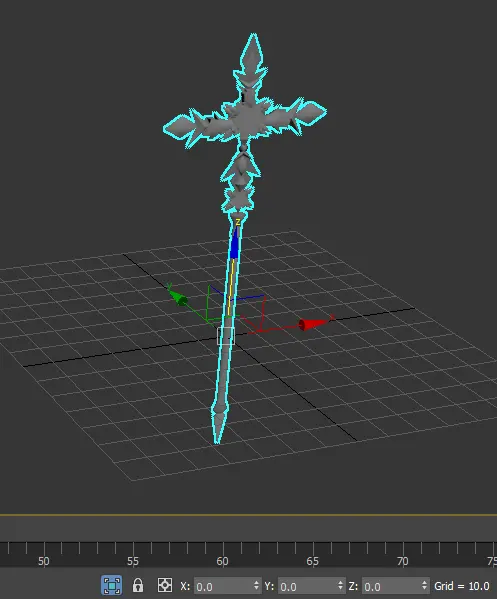 | 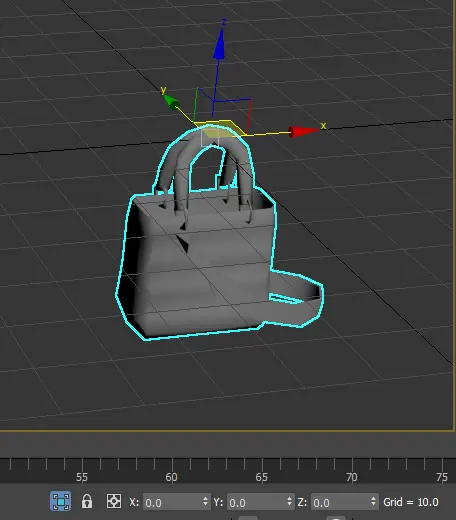 |
| Back Accessory | Back | 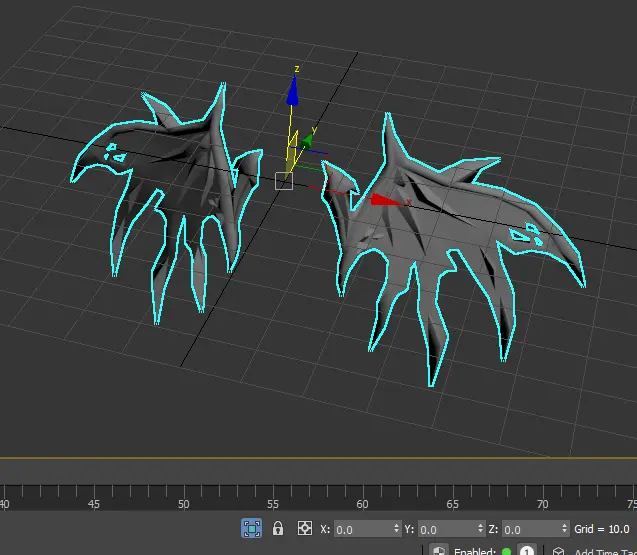 | 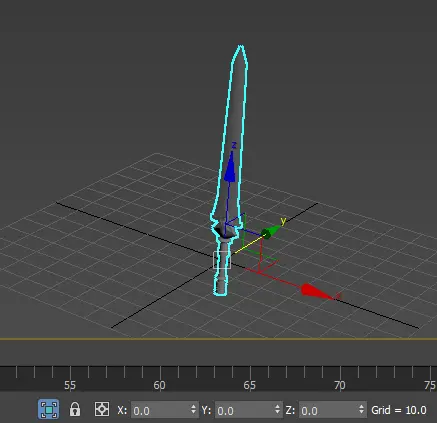 | 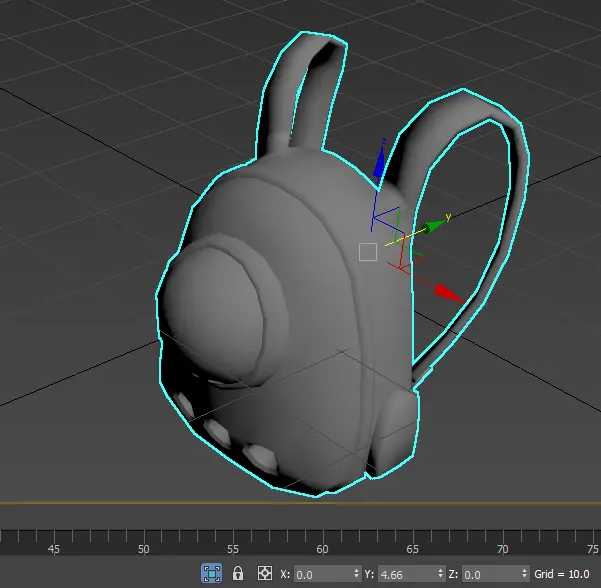 |
| Head Accessory | Zeroed | 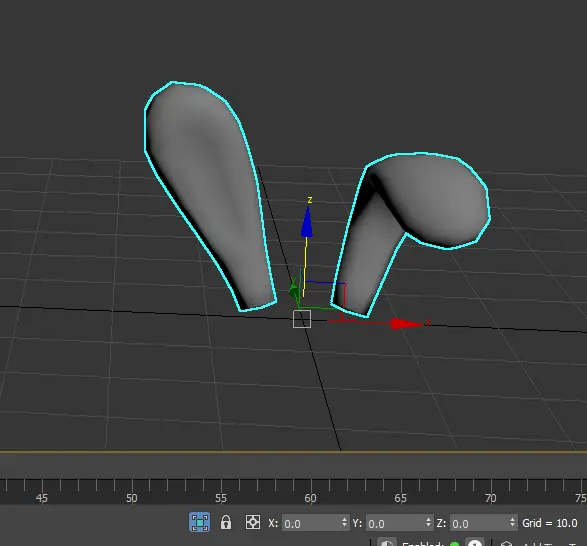 | 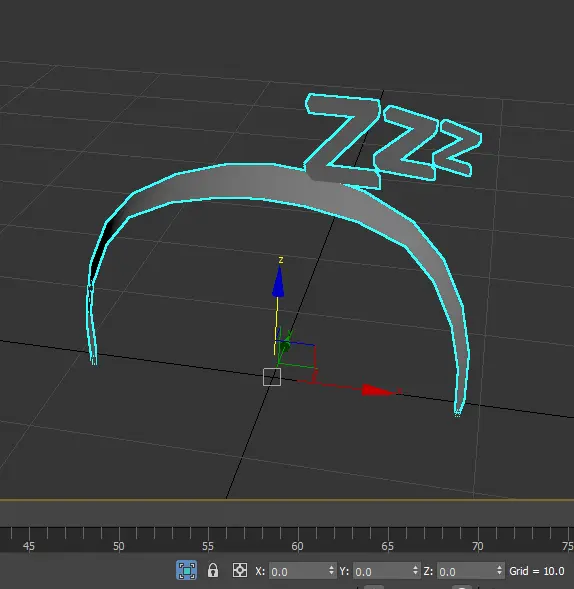 | 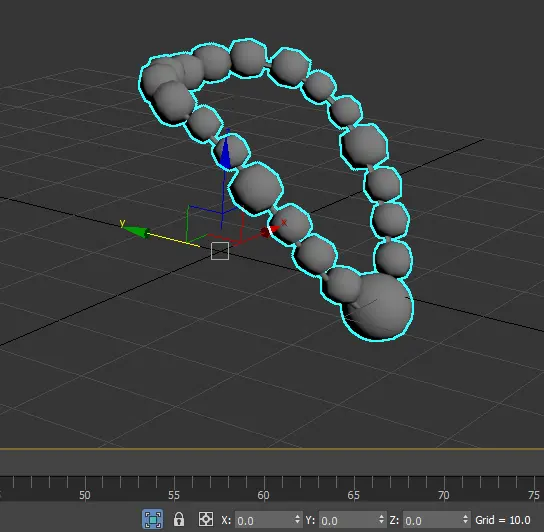 |
| Ear Accessory | Ear Mounting Position | 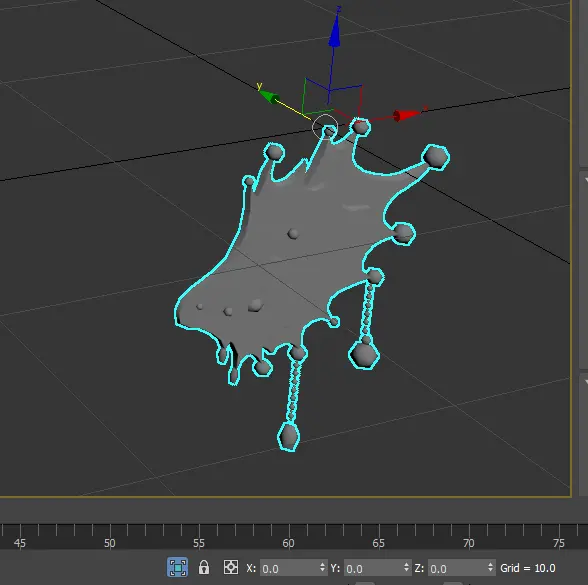 | 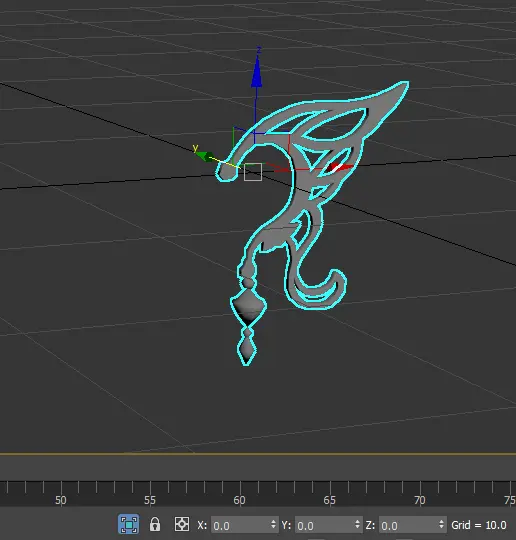 | 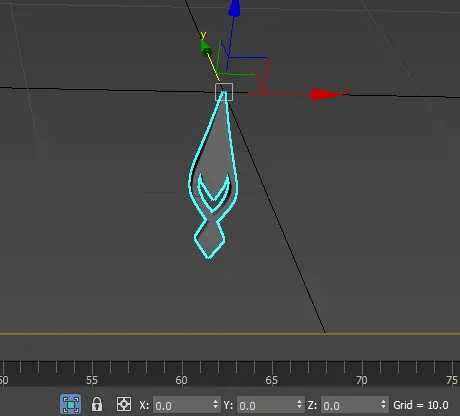 |
| Face Accessory | Zeroed | 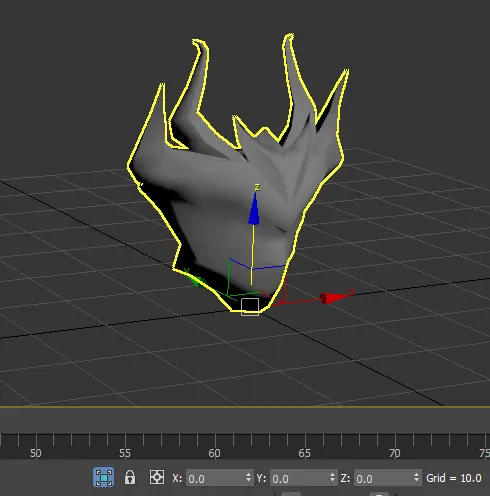 | 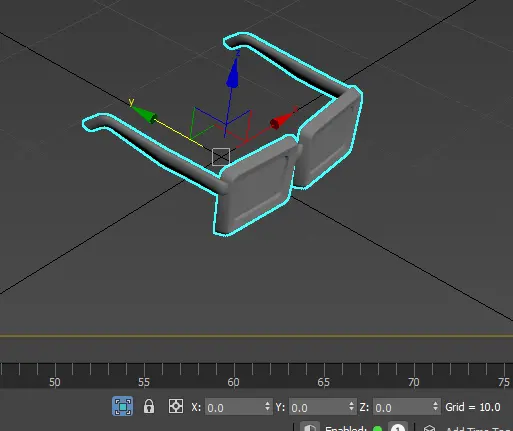 | 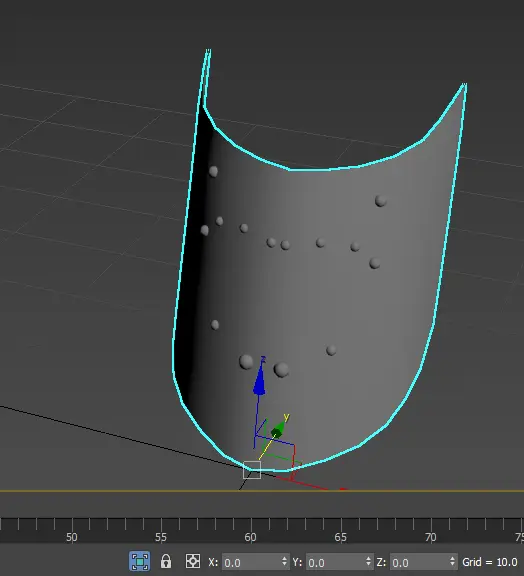 |
| Hip Accessory | Hip Mounting Position | 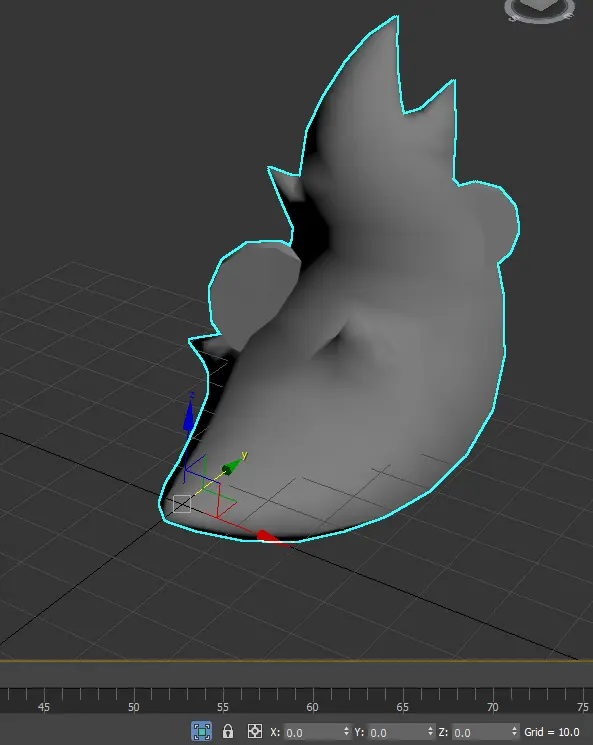 | 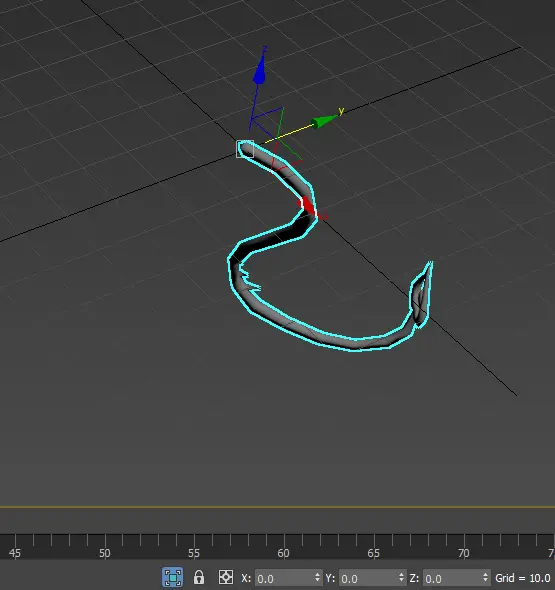 | 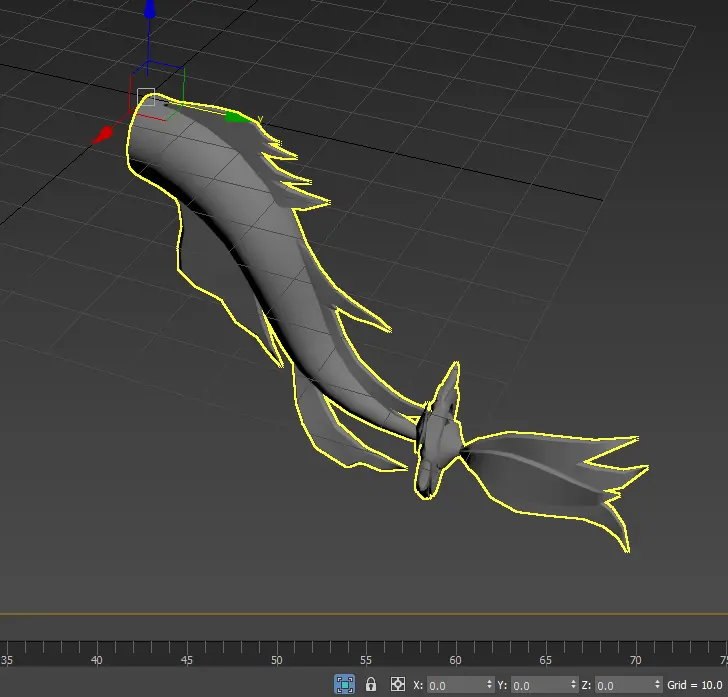 |
| Shoulder Accessory | Zeroed | 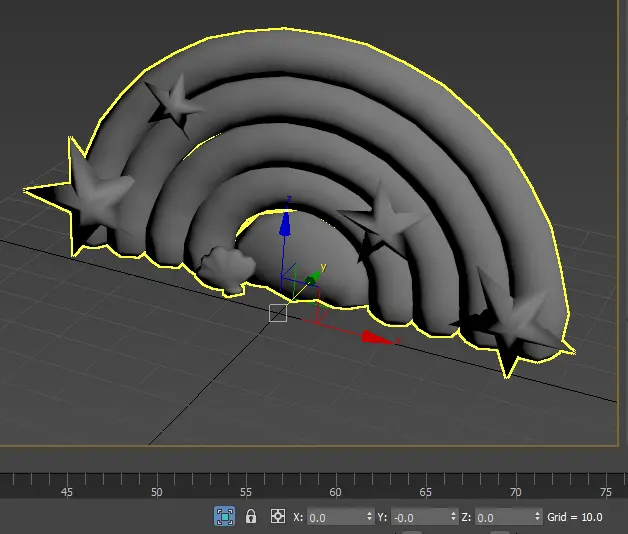 | 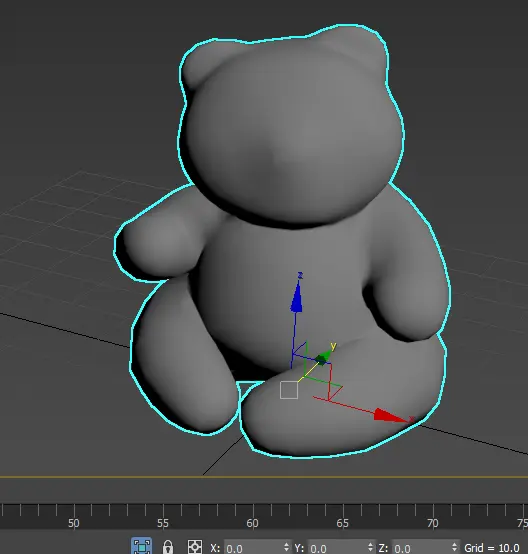 | 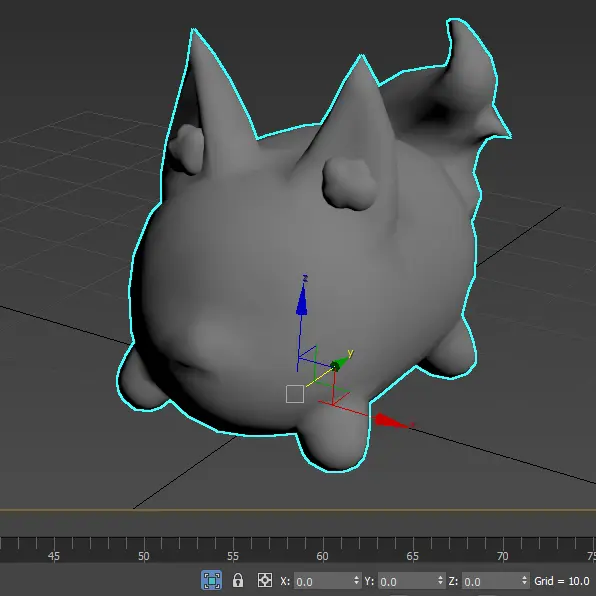 |
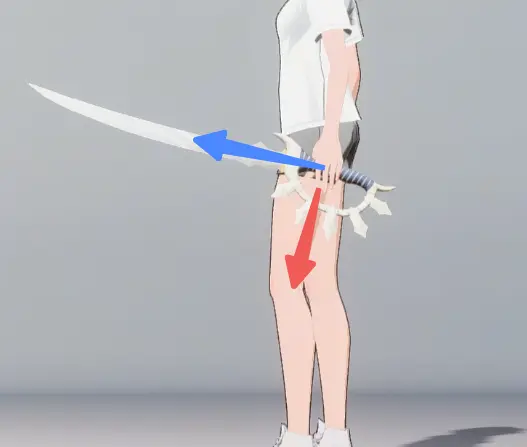
Hand-Held Prop Size Specifications:
Correct model size can minimize model clipping.
| Radius | Illustration | Reference FBX File |
|---|---|---|
| ≤2cm | 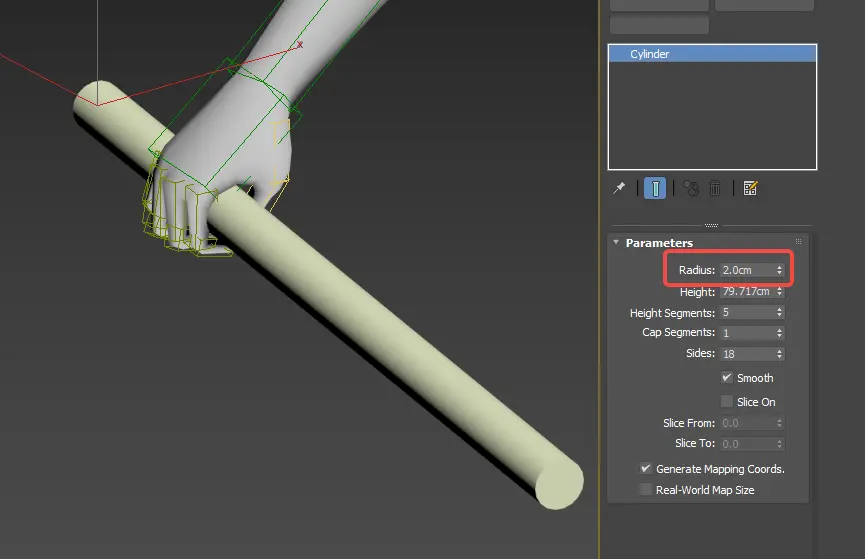 | Normal Hand Model (Click to Download) |
UV Specifications:
- Check and delete extra UV channels, keeping only UV0.
- UV space should not be wasted.
- UV should not be stretched or distorted.
- UV spacing should be more than 2 pixels for 256 textures and more than 4 pixels for 512 textures; they should not be too close.
- UV must be within the 0-1 UV quadrant (i.e., within the UV frame). Tiling textures can overlap and extend beyond the frame.
Texture Specifications
Texture Size:
Texture size must be a power of 2: e.g., 128×128, 256×256, 512×512, etc. Rectangular textures can be used: 256×128, 256×512, etc.
Accessory texture (maximum 1024×1024)
Texture Format:
- Texture format should be TGA, with 16-bit for normal textures and 32-bit for textures with Alpha channels.
- Normal maps default to DirectX normal.
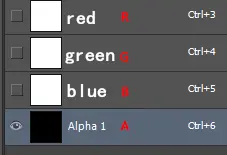
- Mixed texture (suffix _MRAE) channels are as follows:
- R: Metallic
- G: Roughness
- B: Ambient occlusion
- A: Emissive (no A channel if there is no emissive effect)
- Normal transparency mask should be placed in the color Alpha channel (no A channel if there is no transparency mask)
- R, G, B, A correspond to the respective color channels of the texture.
Resource Organization
Material Balls:
- Material naming should comply with material slot specifications and should be correctly assigned and named in 3Dmax, Maya, or other DCC software.
- Incorrect naming may cause material display issues.
| Accessory | Suit |
|---|
Model Check:
- Check if the DCC software unit setting is centimeters.
- Check if the model coordinates are at the world coordinate center.
- Check the resource list and delete unused models, empty groups, etc.
- Check for incorrect double-sided faces, broken faces, broken points, and polygons with five or more sides.
- Check if the smoothing groups are set correctly.
- Check the seams between different parts to ensure the vertex normals of each part match the base model.
- Check if each part has been assigned a material ball and if the material ball is named correctly.
- Check if the UV count is correct.
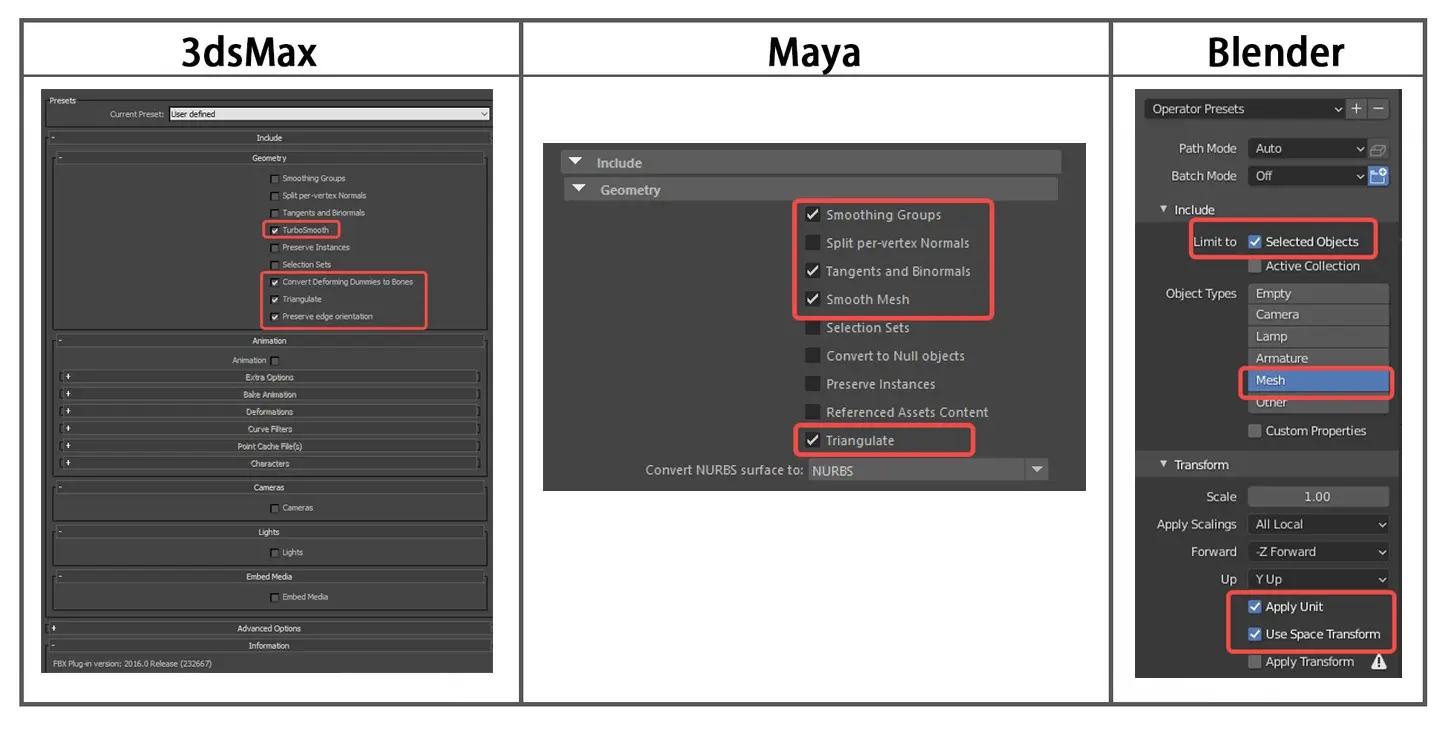
FBX Export Settings
Before exporting, reset the model, clear the model operation history, and place the model at position 000.
Resource Production Process Example:
GPark Tutorial | How to create Accessories in GPark
Next Steps:
- After completing the model and texture production, export the resources and prepare to upload the product.