Clothing & Hair Icon
After uploading the product resources, to attract user attention, it is necessary to create a custom icon that fully showcases the product.
Icon Format
- Icon Size: 256×256.
- File Format: PNG (with a transparent background).
- Composition: At a resolution of 256×256, after leaving a minimum margin around the edges, the product should be maximized to fill the image as much as possible.
Icon Creation
Method 1
Obtaining Initial Material
After uploading the product resources, view them in the GPark Editor Creator Center.
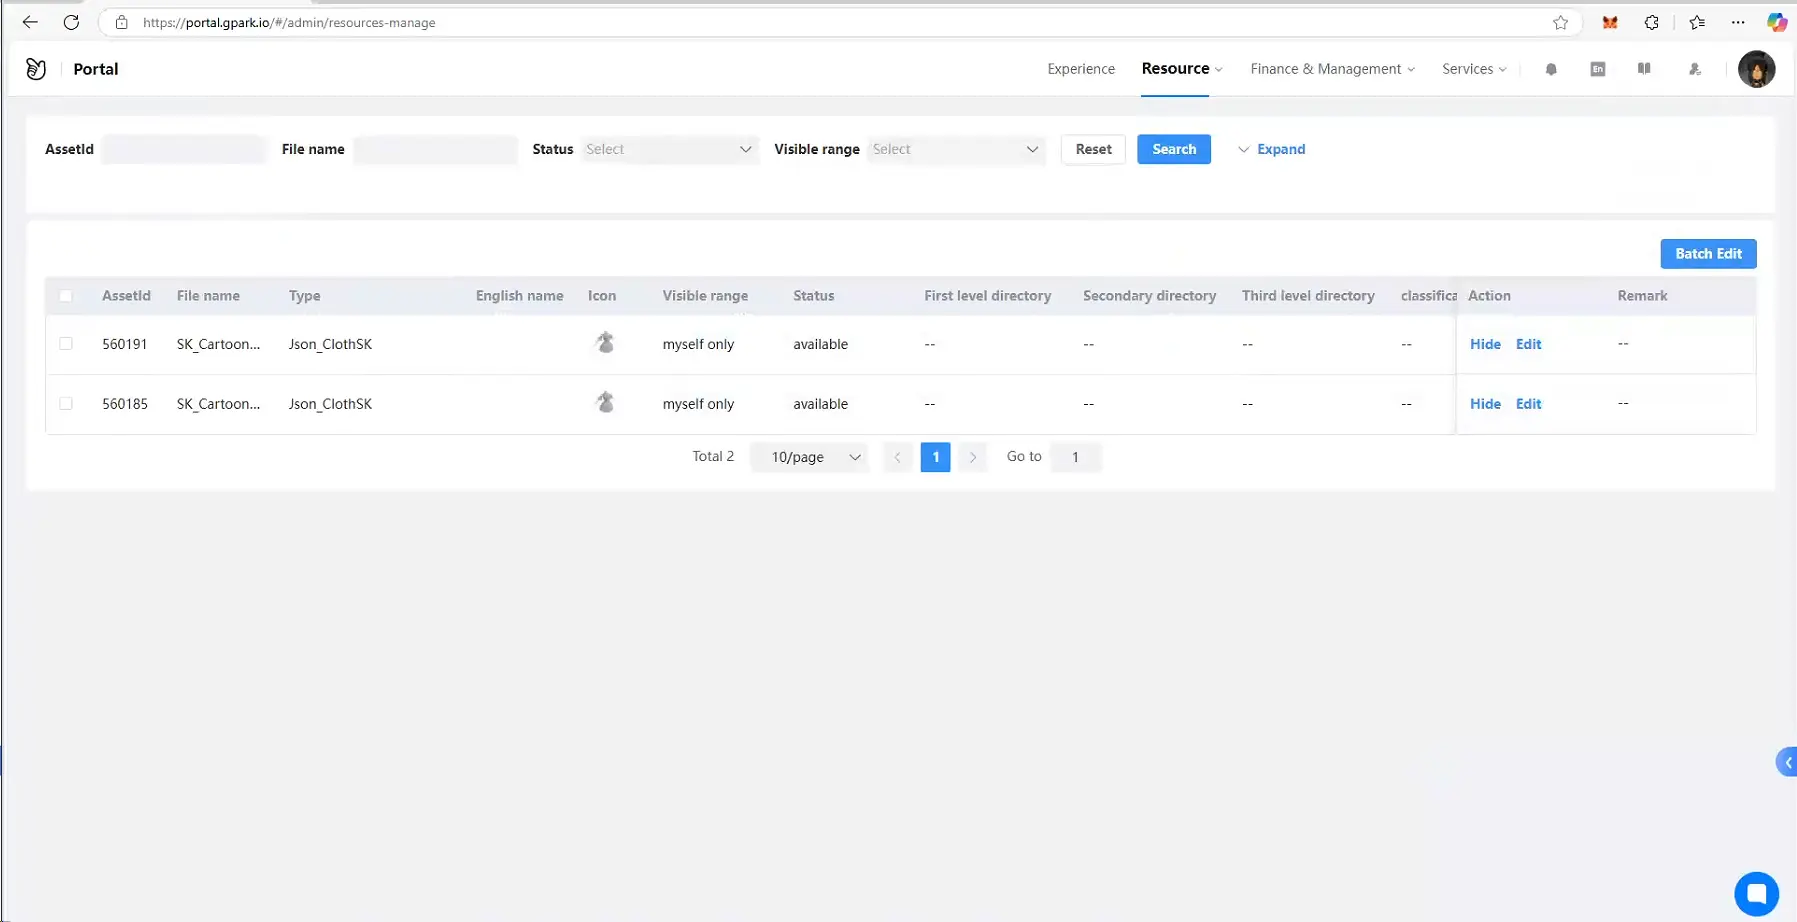
Using Preferred Tools to Modify the Automatically Generated Preview Icon
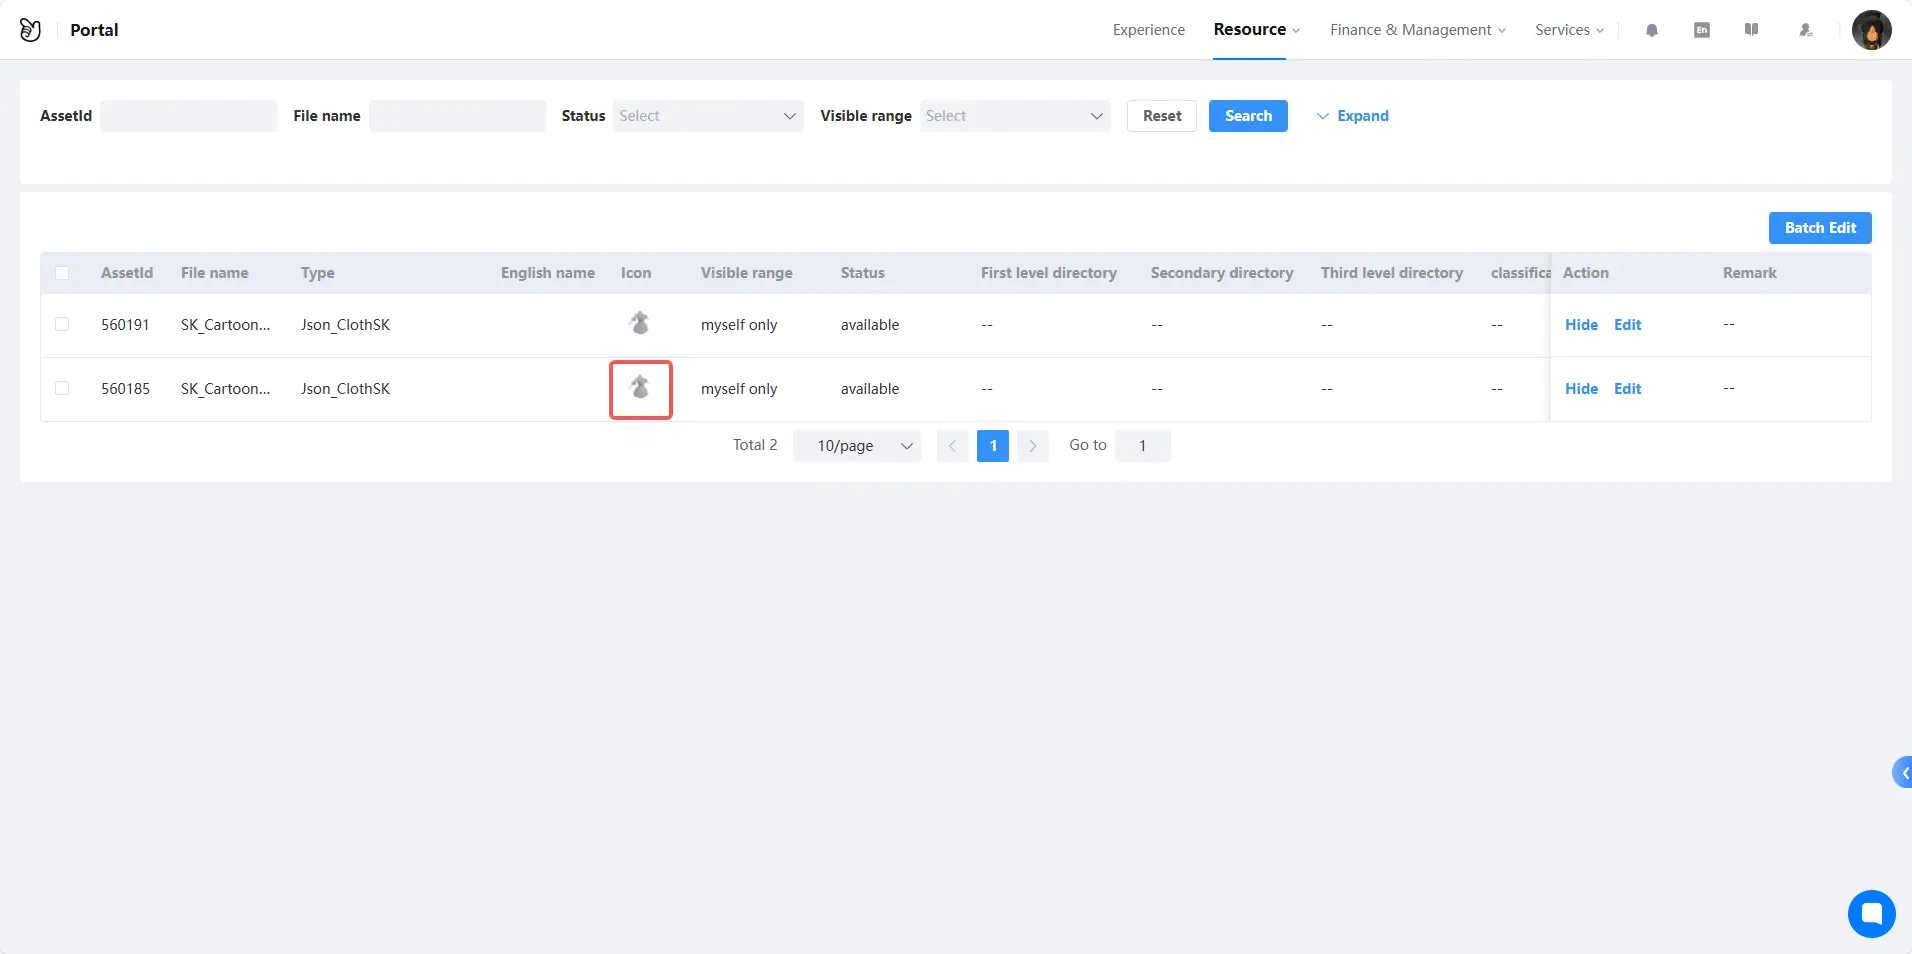
Hover the mouse over the preview image at the top of the product details page, click, and right-click to save as
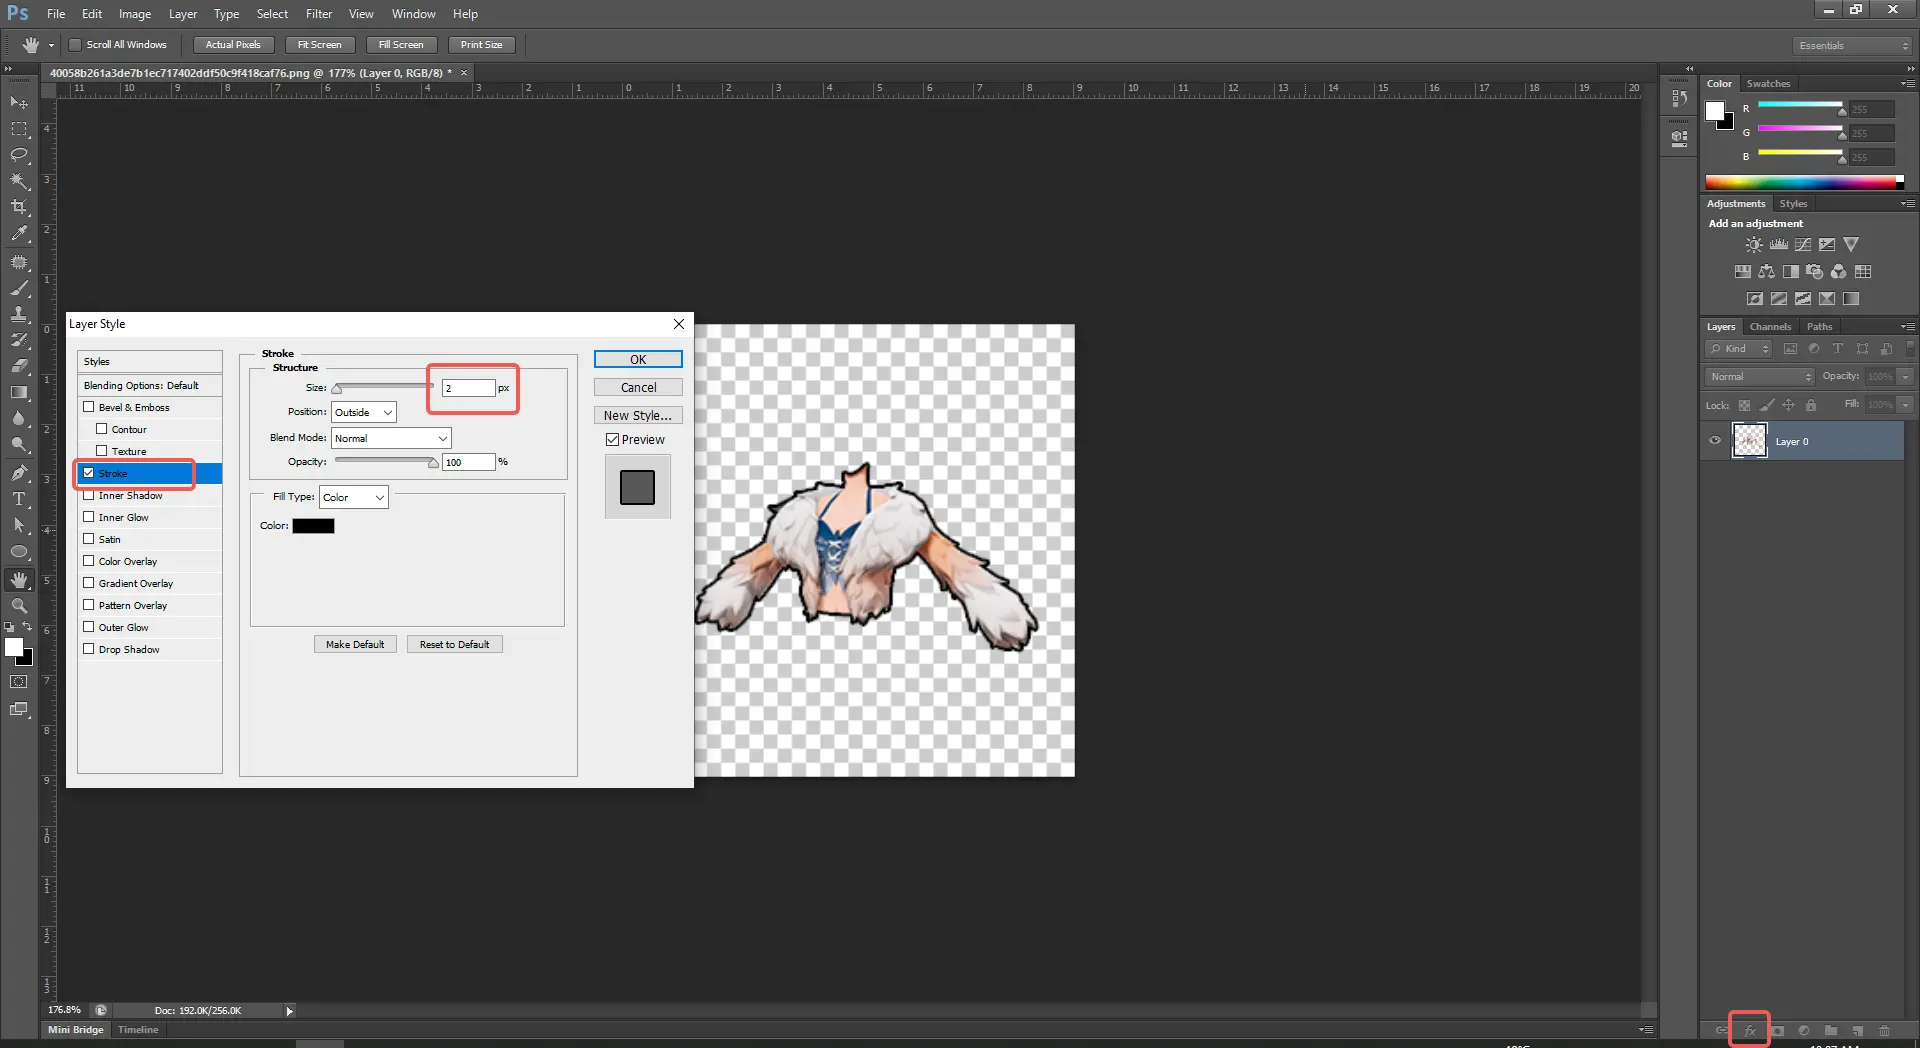
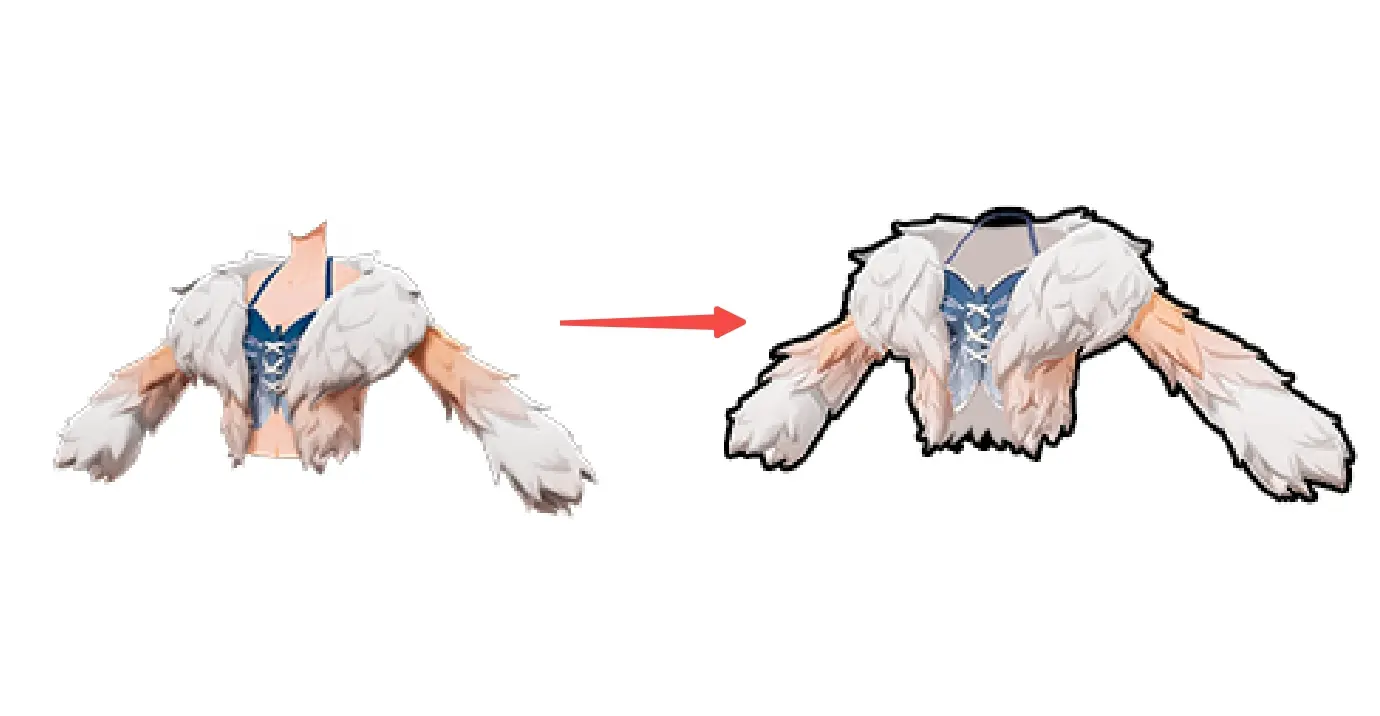
- If the automatically generated product preview image has incomplete parts, modify and supplement them, as well as beautify them.
- In Photoshop, select Stroke and set the size to 2.
- Set an appropriate stroke color for the clothing (you can refer to the clothing icon examples).
Method 2
Take a screenshot of the resource as icon material during the resource stage, and use preferred tools to modify it into a product icon.
Notes
- The product should not be too small in the icon image.
- The product should not be cut off, preventing it from being fully displayed.
- Do not add images other than the product.
- Keep the background transparent.
- Do not make it too different from the automatically generated product preview image.
- Do not add extra text or patterns.
.webp)
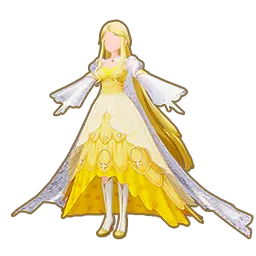
Clothing Icon Examples
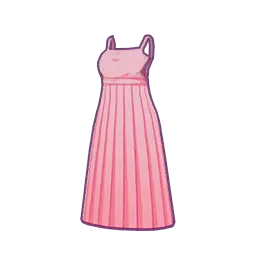 | 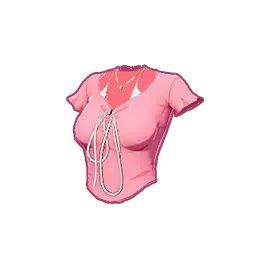 | 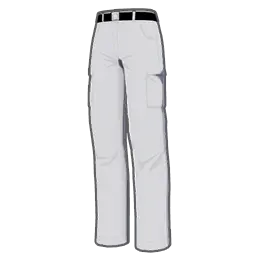 | 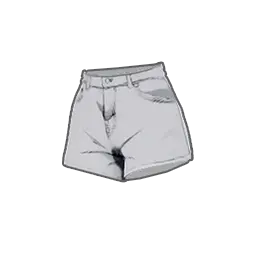 |
|---|---|---|---|
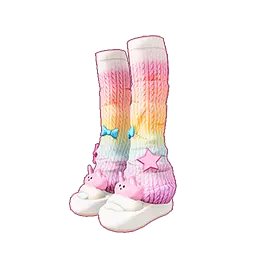 | 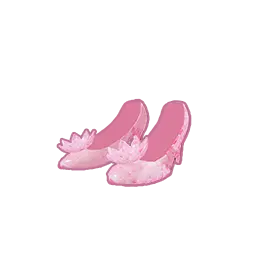 | 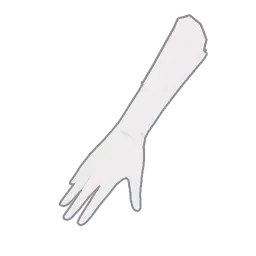 | 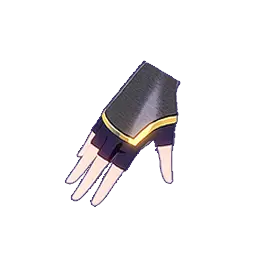 |
Hairstyle Icon Examples
 |  |
|---|
Outfit Icon Examples
 | 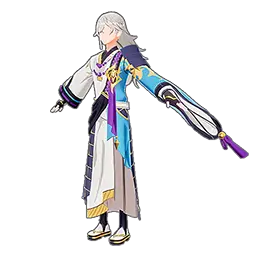 |
|---|
Uploading the Created Icon
- Enter the editor, select the modified icon to import, choose the UI texture option, then go to the Creator Platform and click on My Resources. Wait for the review to complete.